
Component interacting
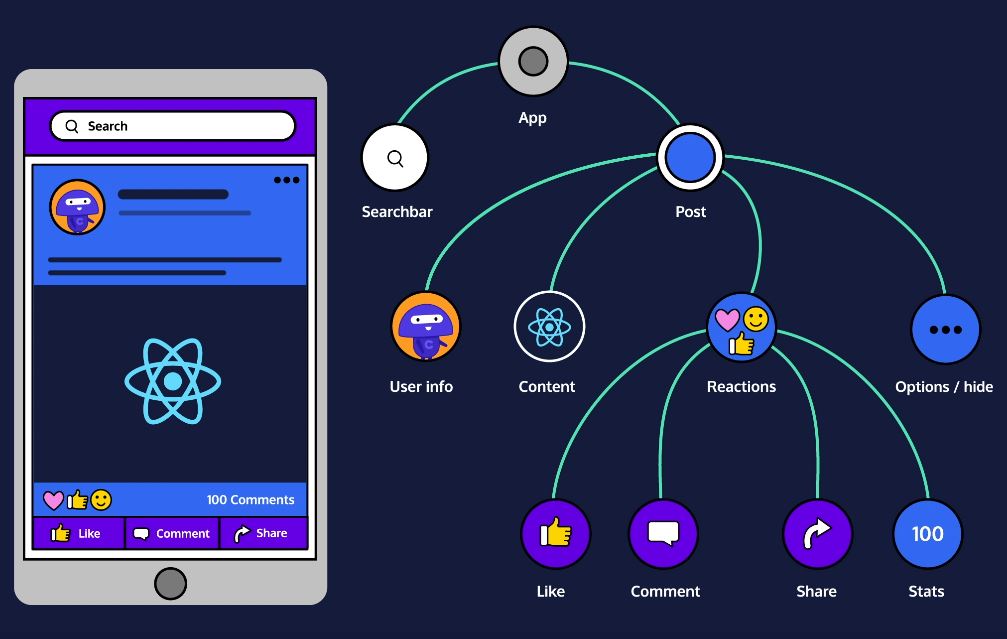
React application은 몇 십에서 몇 백 개까지 component를 가질 수 있습니다. 각각의 작은 component들은 자신의 역할을 담당하면서 거대한 app을 구성하고 서로 상호작용함으로써 app을 동작시킵니다.
Component 간 상호 작용 유형
- Component가 다른 component를 렌더링하는 것
- Component가 다른 component에게 정보를 전달하는 것
A component in a render function
class WelshCorgi extends React.Component {
  render() {
    return <h1>Welsh Corgi wooooow!</h1>;
  }
}

class Dog extends React.Component {
  render() {
    return <WelshCorgi />;
  }
}
Component 클래스의 render() 메서드는 HTML-like JSX expression 뿐만 아니라 component instance 형태의 JSX expression도 리턴할 수 있습니다.
import React from 'react';
import ReactDOM from 'react-dom';


class WelshCorgi extends React.Component {
  render() {
    return <h1>Welsh Corgi wooooow!</h1>;
  }
}


class ProfilePage extends React.Component {
  render() {
    return (
      <div>
        <h1>All About Me!</h1>
        <p>I like Welsh Corgi!!!</p>
        <WelshCorgi />
      </div>
    );
  }
}
이러한 속성을 활용하면 하나의 component 안에서 다른 여러 개의 component를 함께 렌더링할 수 있습니다. 위의 <WelshCorgi /> component 인스턴스는 ProfilePage component가 생성되면 그 안에서 렌더링됩니다. 따라서, ReactDOM.render()를 통해 ProfilePage 인스턴스 하나만 렌더링하면 내부에 있는 component들은 자동으로 함께 렌더링되게 됩니다.
Component 안에 다른 component가 포함되어 렌더링될 수 있다는 특징은 리액트의 강력한 장점입니다!
Props
부모 component가 자식 component에가 전달하는 정보가 담긴 객체를 props라고 합니다. 모든 component들은 자신의 props를 가지고 있으며, 이를 통해 부모 component로부터 전달받은 정보를 확인할 수 있습니다.
특정 component의 props를 보고 싶다면, this.props를 사용해 확인할 수 있습니다.
<Greeting name="Frarthur" town="Flundon" age={2} haunted={false} myInfo={["top", "secret", "lol"]} />
Component에 prop을 추가하고 싶다면, 생성한 인스턴스에 속성으로 추가해주면 됩니다. 위의 코드는 <Greeting /> component 인스턴스에 name, town, age, haunted, myInfo 등의 props를 부여한 것입니다.
이 때 만일 string이 아닌 정보를 주고 싶다면, {}로 정보를 감싸서 속성을 부여해야 한다는 점을 유의합시다.
이렇게 추가한 속성들은 this.props.속성이름을 통해 접근할 수 있습니다.
Event handler as prop
함수 역시 props로 넘길 수 있는데, 보통 event handler 함수가 이러한 특징을 활용해 prop으로 자주 전달됩니다.
import React from 'react';
import ReactDOM from 'react-dom';


class Button extends React.Component {
  render() {
    return (
      <button onClick={this.props.talk}>
        Click me!
      </button>
    );
  }
}


class Talker extends React.Component {
  talk() {
    let speech = '';
    for (let i = 0; i < 10000; i++) {
      speech += 'blah ';
    }
    alert(speech);
  }

  render() {
    return <Button talk={this.talk} />;
  }
}

ReactDOM.render(
  <Talker />,
  document.getElementById('app')
);
Event handler는 render() 메서드와 비슷한 방식으로 임의의 이름의 메서드를 정의하고 필요한 component에 prop으로서 전달합니다.
Naming convention of event handler
Event handler를 prop으로 전달할 때, 임의로 naming해야 할 부분이 두 군데 생깁니다. 이 때, 반드시 따를 필요는 없지만 통용되는 naming convention이 존재합니다.
첫 번째는 event handler 메서드를 정의할 때인데, 이벤트의 타입에 따라 handleClick, handleHover 등으로 사용합니다.
두 번째는 prop name인데, 이벤트 타입에 따라 onClick, onHover 등으로 정의합니다.
class MyClass extends React.Component {
    handleHover() {
       alert('I am an event handler.');
       alert('I will listen for a "hover" event.');
    }

    render() {
       return <Child onHover={this.handleHover} />;
    }
}
this.props.children
모든 component들은 props 객체 내에 children property를 가집니다. 앞서 self-closing tag로 만들었던 component들은 사실 <MyComponentClass></MyComponentClass>로 나뉘어 쓰이는 것 역시 가능합니다. 이 경우, this.props.children은 나뉘어 쓰이는 태그 사이에 존재하는 모든 것을 리턴합니다.
import React from 'react';
import ReactDOM from 'react-dom';


class List extends React.Component {
  render() {
    let titleText = `Favorite ${this.props.type}`;
    if (this.props.children instanceof Array) {
    	titleText += 's';
    }
    return (
      <div>
        <h1>{titleText}</h1>
        <ul>{this.props.children}</ul>
      </div>
    );
  }
}


class App extends React.Component {
  render() {
    return (
      <div>
        <List type='Dog'>
          <li>Welsh Corgi</li>
          <li>Dachshund</li>
        </List>
        <List type='Cat'>
          <li>Road cat</li>
        </List>
      </div>
    );
  }
}

ReactDOM.render(
  <App />,
  document.getElementById('app')
);
위 코드의 경우, this.props.children은 각각의 List component 사이에 있는 모든 <li> element들을 리턴합니다.
-
<List type='Dog'>의 경우// return elements <li>Welsh Corgi</li> <li>Dachshund</li> -
<List type='Cat'>의 경우// return element <li>Road cat</li>
defaultProps
class Example extends React.Component {
  render() {
    return <h1>{this.props.text}</h1>;
  }
}

Example.defaultProps = { text: 'Welsh Corgi' };
만일 component 인스턴스에 요구되어지는 prop이 전달되지 않았을 때, 해당 prop은 화면에 아무것도 출력하지 않을 것입니다. 이 때, default 값을 prop에 지정해 화면에 항상 무언가가 출력될 수 있게 할 수 있습니다.
이를 위해 component 클래스의 defaultProps property를 사용합니다. defaultProps property에 원하는 props의 기본값들을 설정한 object를 지정하여 기본값 설정을 완료합니다.
state
축구 경기에서 각 팀의 스코어 정보처럼 변할 수 있는 정보를 dynamic information이라고 합니다. 리액트 component는 이러한 dynamic information을 다뤄야 할 때, props와 state를 사용합니다. 그 중, state란 각각의 component가 가지고 있는 상태를 저장한 것을 뜻하며, component 내부에서 관리됩니다. 렌더링 결과물에 영향을 주는 정보를 갖고 있다는 부분에서도 props와 공통점이 있습니다.
class Example extends React.Component {
  constructor(props) {
    super(props);
    this.state = { mood: 'decent' };
  }

  render() {
    return <div></div>;
  }
}

<Example />
초기의 state는 props와 달리 component 클래스의 constructor에서 state property를 지정해 설정합니다. 또한, 각각의 component들은 스스로의 state를 가집니다.
모든 component는 super()를 통해 항상 초기화 시켜야 합니다. 이후, state에 적절한 객체를 할당해 initial state를 설정합니다.
class TodayImFeeling extends React.Component {
  constructor(props) {
    super(props);
    this.state = { mood: 'decent' };
  }

  render() {
    return (
      <h1>
        I'm feeling {this.state.mood}!
      </h1>
    );
  }
}
Component 클래스 내에서 state에 접근하고 싶다면 this.state.name-of-property 형태로 접근합니다. 위의 this.state.mood는 ‘decent’ 값에 접근합니다.
this.setState()
Component의 현재 state를 바꾸고 싶다면, this.setState() 메서드를 사용합니다. setState()는 변경 요소가 담긴 객체를 첫 번째 인자로 받아 사용합니다.
{
  mood:   'great',
  hungry: false
}
현재 state의 상황이 위와 같다고 가정해봅시다.
this.setState({ hungry: true });
그리고 setState()를 사용해 hungry 상태를 변경합니다.
{
  mood:   'great',
  hungry: true
}
그 결과 위와 같이 hungry 상태만 true로 변경되었습니다. setState는 기본적으로 인자로 받은 객체에 담긴 요소들만 접근해 값을 변경하고 다른 원래의 요소들은 그대로 둡니다.
setState()와render()
setState()메서드에서 유의할 점은 이 메서드가state를 변경한 후 자동적으로.render()메서드까지 호출한다는 부분입니다. 즉,setState()를 사용하면state를 변경한 부분이 바로 화면에 반영됩니다. 따라서,setState()는render()메서드 안에서 호출되면 안됩니다. 이를 지키지 않으면 서로 끊임없이 호출하는 무한 루프에 빠지게 됩니다.